Showing posts with label free quilt pattern. Show all posts

Tuesday, October 8, 2019

Tricia's Favorite Quilt Blocks -- Block 11 FAR WEST

Oh my gosh!  I just realized that this is block 11.  Wow!  This project is fast coming to an end.  Then we'll have to start a new project.  I was thinking something with Christmas.  What do you think?

Our 11th block

Far West


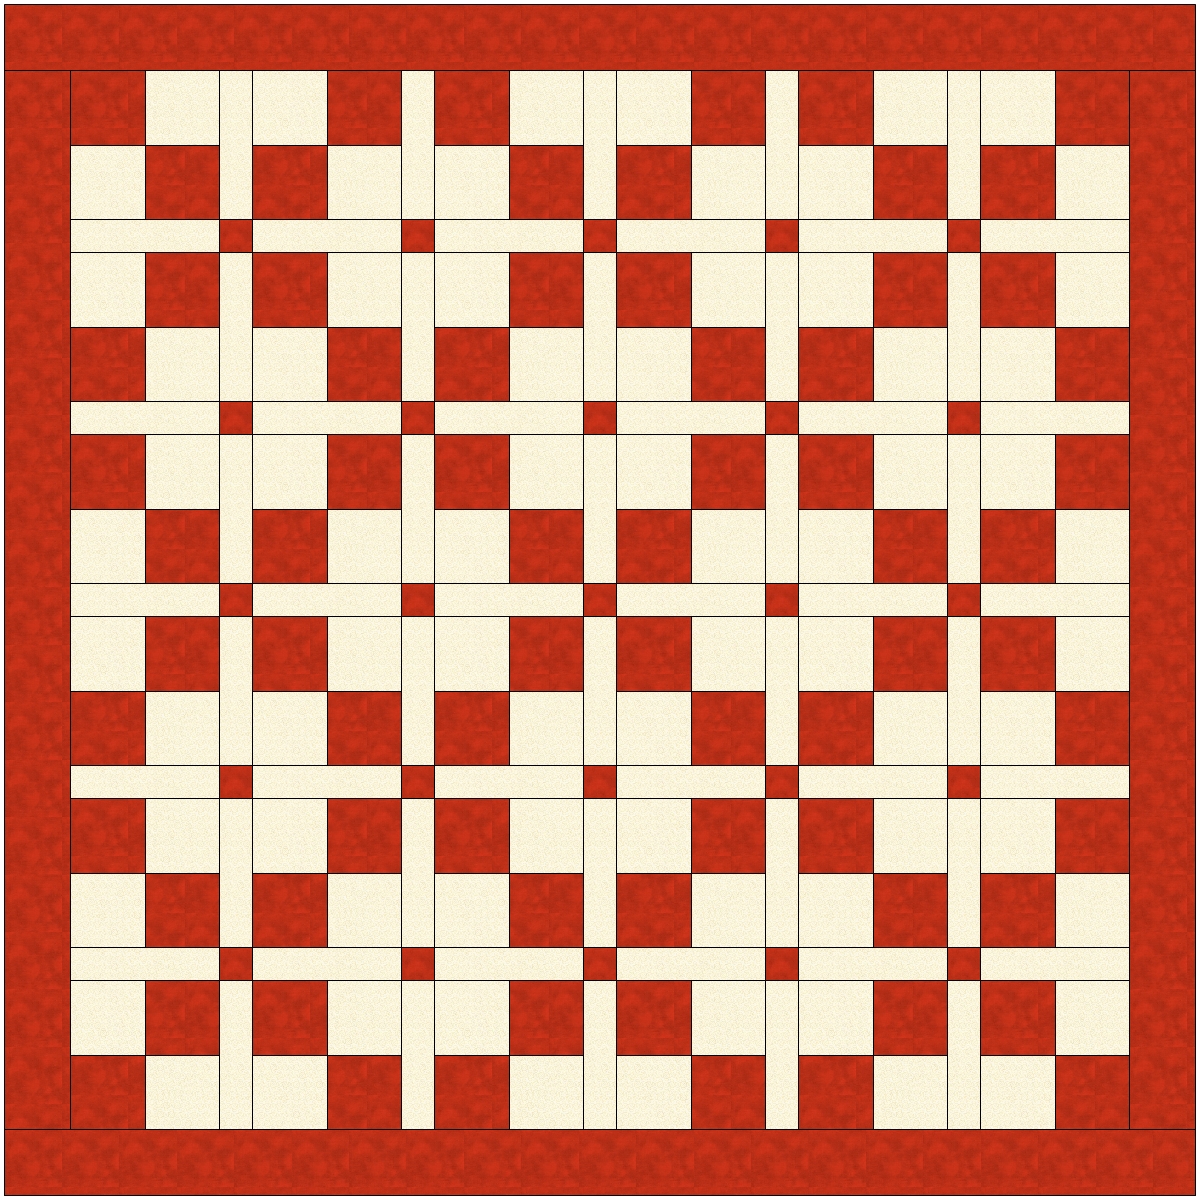
It's actually called by several names (as most blocks are), but I decided to call it by its first name, Far West.  This block is attributed to Nancy Cabot.  Other names include Path and Stiles, Shoo Fly, and Stiles and Paths (according to EQ Blockbase).  You can definitely see its resemblance to our Shoo Fly block, but the center Nine Patch and the strips make it look entirely different.  That is one of the the things I love the most about quilting and designing -- by changing a few little things I can get an entirely new design.

Sew, let's get started making this block, which will finish at 12".

Here's What You Need:

Light -- 2 squares 4 7/8" x 4 7/8", 4 rectangles 1 7/8" x 4 1/2", and 4 squares 1 7/8" x 1 7/8"

Medium -- 4 rectangles 1 7/8" x 4 1/2" and 1 square 1 7/8" x 1 7/8"

Dark -- 2 squares 4 7/8" x 4 7/8" and 4 squares 1 7/8" x 1 7/8"


Let's Sew It Together:

1.  Layer a light 4 7/8" square with a dark 4 7/8" square.  Draw a diagonal line from one corner to the opposite corner.  Sew 1/4" on both sides of the drawn line.  Cut apart on the drawn line.  Open and press to yield 2 triangle squares.  Make 4 triangle squares.


2.  Sew 4 dark, 1 medium, and 4 light squares together into a little Nine Patch as shown.  Make 1.


3.  Sew a white rectangle on each side of a medium rectangle.  Make 4.


4.  Now that you've got all of the sections made, it's time to put them together, just like a Nine Patch block.


Well done!  Bravo!  Kudos!


Stay tuned for Block 12 coming soon and after that, I will provide instructions for my quilt layout which will measure 56" x 74".

Monday, August 19, 2019

Tricia's Favorite Block Tutorials -- Block 8 CHURN DASH

It's time for Block Number 8 in my Favorite Block Tutorials.  I hope that you've been following along and maybe even trying out some of these fun blocks.

Here are the links for the previous 7 blocks if you have missed one:

Block 1

Block 2

Block 3

Block 4

Block 5

Block 6

Block 7

Now that you're all caught up, let's make Block 8 --

Churn Dash


The Churn Dash Block is an old favorite of mine.  I have made many quilts using this block.  One of my most interesting ones was called Halloween Dash and was published in Quilter's World Magazine some years ago.

 
Can you see the spiderweb machine quilting motifs in the middle of the big Church Dash blocks?  Aren't they sew cute?

What you need:

Light:  2 squares 4 7/8" x 4 7/8", 1 square 4 1/2" x 4 1/2", and 4 rectangles 2 1/2" x 4 1/2"

Medium/Dark:  2 squares 4 7/8" x 4 7/8" and 4 rectangles 2 1/2" x 4 1/2"

Here's what you do:

1.   Layer a light 4 7/8" square right sides together with a medium/dark 4 7/8" square.  Drawn a diagonal line from one corner to the opposite corner.  Sew 1/4" away from both sides of the drawn line.  Cut apart on the drawn line.  Open triangle squares and press.  Make 4 triangle squares.


2.  Sew a light 2 1/2" x 4 1/2" rectangle long sides together with a medium/dark 2 1/2" x 4 1/2" rectangle.  Make 4.


3.  Sew the block together like a Nine Patch.


4.  And you're done!


Monday, October 1, 2018

A Special Quilt of Valor and a FREE QUILT PATTERN


Have you heard of Quilts of Valor before? 

Maybe you've even made a quilt and donated it?  


My quilt guild, Free Spirit Quilt Guild (FSQG) got involved with our local QOV chapter in 2017.  Each year we do some kind of community service project and QOV was that year's choice, we were so inspired by the project that we have our own chapter now and it is going strong!

I was all excited to participate last year because many of my family members/friends have served in the military, including my grandpa, Joseph Washick, who served in WWII in the army.  I even submitted a veteran's name (my friend, Ruth's husband, Pat, who served in Vietnam).  Pat was one of the first group of quilt recipients that my guild participated in.

Being all gung ho about QOV, I immediately began my first QOV quilt to donate.  Then I got sick last year, had multiple surgeries, and struggled with complications for the next 12 months.  ARGH!  I went into what I call "emergency quilting" mode, which basically meant that I only quilted when I had to (had a quilt with a deadline).

I am thrilled to say that I am finally on the homestretch to finishing my QOV  from last year.  I just need to hand-sew little bit more binding.

 Recently, I had an amazing experience with my QOV.   The Moving Wall was set up in the park in my local town.  I had the brilliant idea to take my quilt with me to see The Moving Wall.  I asked permission to photograph my quilt with The Wall.  Two very kind veteran volunteers helped me, I wish I would have thought to get their names.


Here are the directions to make my Triple Rail Fence quilt for QOV.  
Maybe you'll make one and donate it to your local QOV chapter.
 ___________________________________________________________________________________

 Patriotic Rail Fence Quilt

By Tricia Maloney

63" x 81"


SHOPPING LIST


1 7/8 yard Red Fabric

1 7/8 yard White Fabric

1 7/8 yard Blue Fabric

5/8 yard fabric for binding

Twin-sized batting

5 yards fabric for backing

**You can totally use your stash for this quilt, just use an assortment of reds, whites, and blues.**


CUTTING


Red Fabric:  Cut 72 rectangles 3 1/2" x 9 1/2"

Light Fabric:  Cut 72 rectangles 3 1/2" x 9 1/2"

Blue Fabric:  Cut 72 rectangles 3 1/2" x 9 1/2"

Binding Fabric:  Cut 8 strips 2 1/2" x the width of fabric (WOF)


MAKING THE BLOCKS


1.  Sew a blue, a white, and a red 3 1/2" x 9 1/2" rectangle together into a Rail Fence block.  Make 72 blocks. The blocks will be 9 1/2" x 9 1/2" (unfinished).


MAKING THE QUILT


2.  Sew 7 blocks together, turning every other block as shown.  Make 5 rows (Row 1).


3.  Sew 7 blocks together, turning every other block as shown.  Make 4 rows (Row 2).


4.  Sew the rows together, alternating placement (Row 1, Row 2, Row 1, Row 2, Row 1, Row 2, Row 1, Row 2, Row 1).


 5.  Layer your quilt top with your batting and backing.  Quilt the layers together.  Bind your quilt.

6.  Give your quilt to a Veteran!


Please feel free to share this pattern with your Quilt Guild or sewing group.  
It goes together fast, is a great size for a QOV quilt, and is suitable for a beginner.

Quilt On!


Wednesday, December 13, 2017

On the 1st Day of Christmas.......

On the 1st Day of Christmas, I Give to Thee....

CHARITY


The Merriam-Webster Dictionary defines charity as:

1.  Generosity and helpfulness especially toward the needy or suffering; aid given to those in need; an institution engaged in relief of the poor; public provision for the relief of the needy.
2.  Benevolent goodwill toward or love of humanity.
3.  A gift for public benevolent purposes.
4.  Lenient judgment of others.


What does charity mean to you?


For me, charity means supporting my community and helping others.  
There are a lot of different ways to be charitable.  We can share our time by volunteering.  We can share our resources by making monetary donations or donations of goods and services.  The most wonderful thing about being charitable is that there isn't just one way to do it and you can do charitable deeds all year long.


FREE QUILT PATTERN

For my quilt design for Charity, I chose the humble four patch.  I am including the instructions to make this quilt because it would make up fast and you could donate the finished quilt to your favorite charity.

This quilt will finish at 72" x 72".


Here's how to make this simple quilt:

You will need 72 print 5" squares and 72 background 5" squares.  (This is a wonderful quilt project to use up a lot of different fabrics, just divide them into dark fabrics for the print squares and light fabrics for the background squares.  You can also use multiple charm packs if you want or make it a two color quilt as I did here.)

Make 36 Four Patch blocks.

Cut 60 sashing strips 2 1/2" x 9 1/2" and 25 sashing squares 2 1/2" x 2 1/2".

Sew 6 blocks together with 5 sashing strips in between the blocks.  Please note how I turned the blocks so that there will be a secondary design when everything is sewn together.  Make 6 rows.

Sew  6 sashing strips end to end with 5 sashing squares.  Make 5 rows.

Sew rows together, alternating block rows with sashing rows.

Measure your quilt top and cut borders 4 1/2" wide.


Finish your quilt by layering it with batting and backing.  Quilt or tie the layers together.  Attach a binding.  Donate to your favorite charity.

My challenge to you........do at least one charitable thing before Christmas.


Wednesday, September 20, 2017

National Sewing Month, Precuts, a new FREE Pattern, and a GIVEAWAY

As part of National Sewing Month this month, C&T authors are writing blog entries, doing tutorials, and offering free patterns!  YAY!  To see what other authors are up to on C&T's blog, click HERE.

Today, September 20th, is my day.  So you can hop on over to C&T and read my blog post about My Obsession with Precuts.


There are a lot of reasons to love precuts, aren't there?

Here are some of mine:

12)  Less waste than yardage. 
11)  Precuts are smaller than fabric bolts -- you can store more precuts in a smaller space.
10)  They are just like candy, but better -- no calories!
9)  Whether you actually use them or just decorate with them, they're pretty.
8)  There are sew many different types of precuts available -- there's a precut for every person and every project.
7)  When you're traveling, they pack well in suitcases and carry on bags (fat quarters roll up nicely in shoes).
6)  I've never met a precut that I didn't like.
5)  Books, patterns, rulers, and other tools.  OH MY! (Have you checked out my book, I Love Precut Quilts! yet?)
4)  Precuts make it easy to make controlled "scrappy" quilts.
3)  I can have a piece of fabric from each bolt in an entire collection and it doesn't break the bank.
2)  Precuts can be cut into other precuts (for example -- you can get four 2 1/2" squares from a 5" charm square or four 5" squares from a 10" Layer Cake square).
1)  Precuts are sew addicting!!!!!

I am happy to offer you a new FREE PATTERN in honor of National Sewing Month!  It's called Around Town and it is another companion quilt project from my book, I Love Precut Quilts!  On my Tutorials and Freebies website page, you will also find a couple tutorials and 2 other free companion projects for my book.

 Around Town


 NOW FOR THE NATIONAL SEWING MONTH GIVEAWAY


I will be giving away a copy of my latest book, I Love Precut Quilts!, to one lucky winner -- maybe it will be you!


Here's how it works:

You have up to 3 chances to win.

1.  Leave a comment and tell me why you love precuts.
2.  Become a blog follower and leave a comment telling me you that you're a blog follower.
3. Follow me on Instagram @tricia.maloney and leave a comment telling me you're an Instagram follower.

Ready!  Set!  GO!

You have from Wednesday, September 20th through Sunday, September 24th to participate.
 The winner will be selected randomly on Monday, September 25th.

You never know........I might be inspired to add more prizes along the way if I get lots of encouragement.

PLEASE MAKE SURE TO INCLUDE YOUR EMAIL ADDRESS 
SO THAT I CAN CONTACT YOU IF YOU WIN!


Wednesday, July 5, 2017

It's SUMMERTIME! Tutorials and FREE Quilt Patterns Just for You

Summer Greetings to One and All!

Time has just been flying by and suddenly it's July.  How did that happen?  It's been so crazy around here since I returned from Quilt Market in St. Louis back in May.  I haven't even had much time to quilt or work on any new projects -- it's just been a challenge to get through each day, mostly.

I do have a lovely little surprise or two for everyone, though --

Tutorials for blocks featured in my quilt book, I Love Precut Quilts! as well as free patterns for you to try out the blocks.  F -U -N! 

Who isn't looking for a fun little project to play with during those busy summer months?

You can find the tutorials and free patterns on my website.  Here's the link:

Tutorials and Free Patterns

I hope you enjoy the blocks -- Half and Half Block and Turned Snowball Block and the small quilt projects that go along with the tutorials -- Checkmate and Moonlight.

 Checkmate


 Moonlight


If you make the projects, email  me a photo of your finished piece -- I'd love to show them off on my blog.

Here's hoping that we all find a little time this summer for quilting and sewing!